The free version of CrashPlan allows you to back up your data to other computers on your network, or to a connected external hard drive. If you want to back up your files online, then you will need to purchase a paid subscription to CrashPlan’s online back up service. Continue reading for additional CrashPlan backup instructions. These CrashPlan backup instructions will configure CrashPlan to continuously back up your specified files whenever your computer is on and able to connect to your designated back up location.
Step 1: Navigate to the CrashPlan download page, then download and save CrashPlan to your computer.
CrashPlan download link This set of CrashPlan backup instructions is predicated upon you having an Internet connection and the ability to write files to other computers on your network. If you do not want to use this feature, however, you can simply follow the CrashPlan backup instructions to save your files to a locally connected external hard drive.
Step 2: Double-click the downloaded file, then follow the prompts to complete the installation.
During the installation process you will need to set up an account. You can then install CrashPlan on other networked computers by repeating the installation process and clicking the “Use an Existing Account” option during the install process.
Step 3: Launch CrashPlan.
If CrashPlan does not open immediately after you have completed the installation, you can click the CrashPlan icon in the system tray at the bottom-right corner of the screen. The CrashPlan option is a green house.
CrashPlan Backup Instructions for Specific Files
Once CrashPlan is open on your computer –
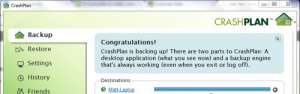
Step 1: Click “Backup” at the top-left corner of the CrashPlan window.
Step 2: Click your desired backup location from the “Destinations” section of the window.
Click the “Another Computer” option to back up to another computer on which you have configured CrashPlan, or click the “Folder” option to back up to a connected external hard drive.
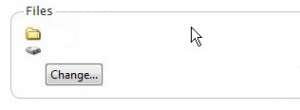
Step 3: Click the “Change” button at the center of the window.
Step 4: Check the boxes to the left of each folder and file that you want to include in your backup, then click the “Save” button at the bottom of the window.
After receiving his Bachelor’s and Master’s degrees in Computer Science he spent several years working in IT management for small businesses. However, he now works full time writing content online and creating websites. His main writing topics include iPhones, Microsoft Office, Google Apps, Android, and Photoshop, but he has also written about many other tech topics as well. Read his full bio here.
You may opt out at any time. Read our Privacy Policy