Automatic Column Numbering in Excel 2010
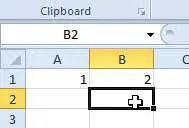
This tutorial is going to assume that you want to fill in a series of cells at the top of your columns (in the first row) with numbers that increase by one as they progress from left to right. I am going to be starting with “1” and going up from there, but you can use any two numbers and Excel will continue the pattern that exists between those numbers for however many cells you select. For example, you could enter “2” and “4” into the first two cells of your sequence, and Excel would continue numbering the rest of your cells with increasing even numbers. Step 1: Open your spreadsheet in Excel 2010. Step 2: Type the first two numbers of your sequence into the first two cells into which you want your automatic numbering to start.
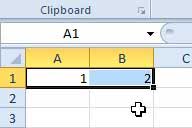
Step 3: Use your mouse to highlight the two cells containing the values that you just entered.
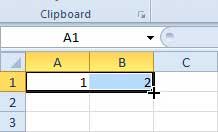
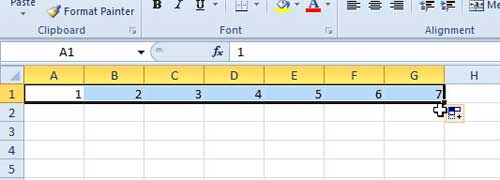
Step 4: Position your mouse on the bottom-right corner of the rightmost cell so that your cursor changes to the shape in the image below.
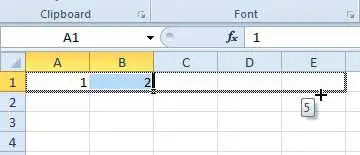
Step 5: Click and hold the left mouse button down and drag it to the right to select the cells that you want to automatically number. Note that the number under your cursor will display the value that will be entered into the currently selected cell.
Step 6: Release the mouse button to finish your automatic numbering.
If you are printing out large documents, page numbers can be very helpful. Learn how to insert page numbers at the bottom of the page in Excel 2010. After receiving his Bachelor’s and Master’s degrees in Computer Science he spent several years working in IT management for small businesses. However, he now works full time writing content online and creating websites. His main writing topics include iPhones, Microsoft Office, Google Apps, Android, and Photoshop, but he has also written about many other tech topics as well. Read his full bio here.
You may opt out at any time. Read our Privacy Policy
