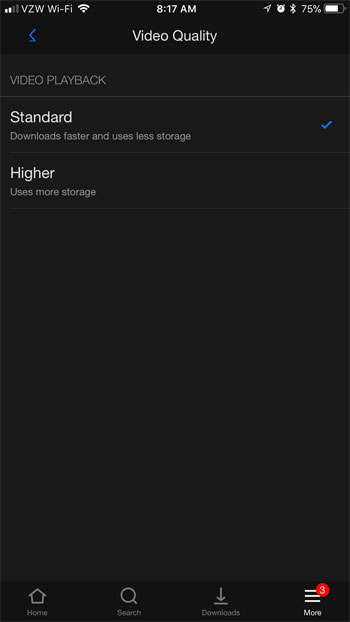
Over time some additional options have been added that let you further customize the way that the downloading worked. One of the options that is available lets you control the quality of the downloaded video. So whether your primary concern is using the least amount of storage space possible, or watching the highest quality video possible, you can specify that preference in the download settings. Our tutorial below will show you where to find and make this selection in the Netflix app on your iPhone.
How to Change Video Quality for Downloaded Videos in the Netflix iPhone App
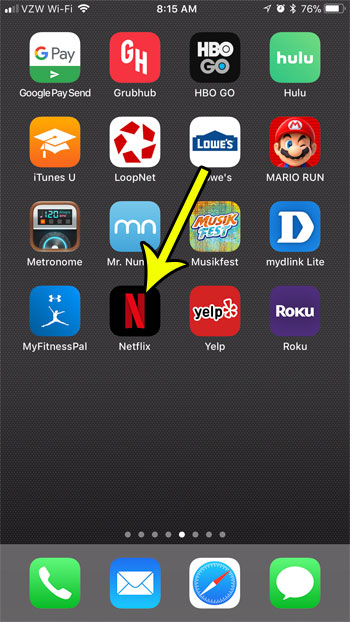
The steps in this article were performed on an iPhone 7 Plus in iOS 11.2.2. The version of the Netflix app being used is the most current version available at the time of this article. Note that if you elect to download a higher quality video that the download will take longer, and the downloaded video will take up more space on your iPhone. Step 1: Open the Netflix app.
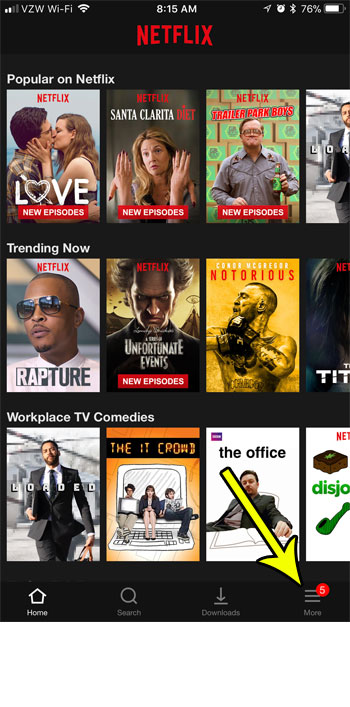
Step 2: Choose the More tab at the bottom-right corner of the screen.
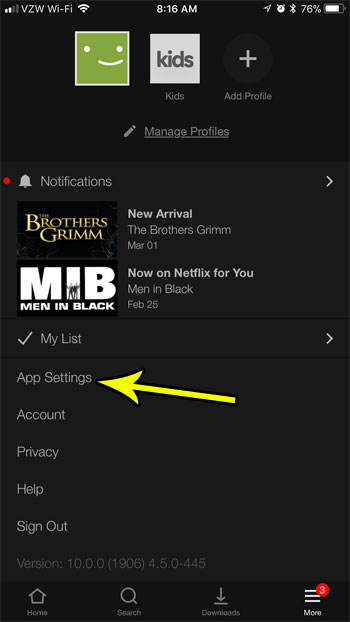
Step 3: Select the App Settings option.
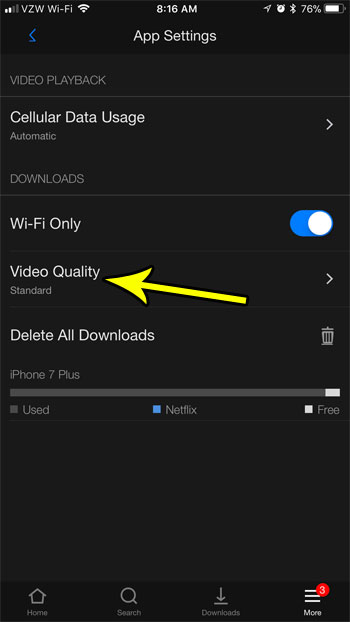
Step 4: Touch the Video Quality button.
Step 5: Tap the video quality that you would like to use when downloading future videos to the app.
If you are having trouble downloading Netflix videos because you don’t have space on your device, then it may be time to delete some other files. Read our guide to managing iPhone storage space for some options that can help you get rid of old or unwanted files that are needlessly using space on your iPhone. He specializes in writing content about iPhones, Android devices, Microsoft Office, and many other popular applications and devices. Read his full bio here.
