One helpful option is a table, so it can be beneficial to know how to create tables in Publisher. Our tutorial will explore this process below so you can start adding tables to your documents and using them to organize and display data.
How to Add a Table in Publisher 2013
Our guide continues below with additional information on how to make tables in Publisher, including pictures of these steps. Microsoft Excel is often the first choice when you need to create a table or grid of data, but you may find that you also need a table when creating another type of document, such as one that you are working on in Publisher 2013. Fortunately, Microsoft’s other products often allow for the creation of a table, and Publisher is no exception. Our tutorial below will show you how to insert a table into Publisher 2013. You are even able to specify the number of rows and columns in the table, and you can manually size it to your liking. You should also check out our guide on creating tables in Excel if you’ve been looking for an easier way to sort and filter data in that application.
How to Insert a Table in a Publisher 2013 Document (Guide with Pictures)
The steps in this article will show you how to add a table to your Publisher document. You will be able to specify the number of columns and rows in the table before you add it.
Step 1: Open your document in Publisher 2013.
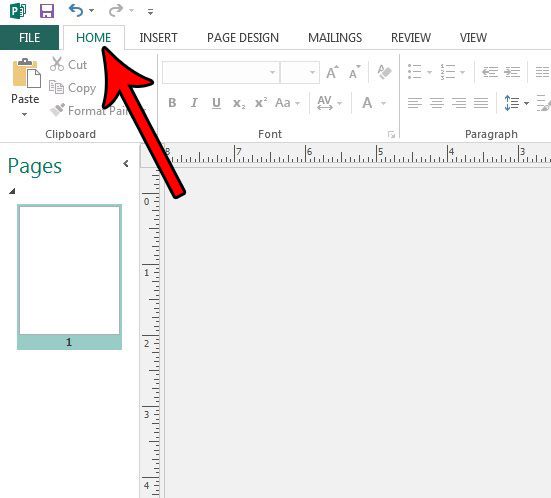
Step 2: Click the Home tab at the top of the window.
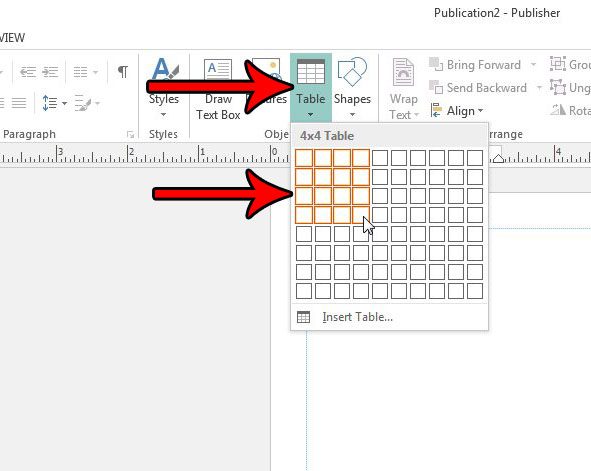
Step 3: Select the Table button in the Objects section of the ribbon, then choose the desired number of rows and columns.
I have selected a 4 x 4 table in the picture below, which means that my table will have 4 rows and 4 columns. Now that you know how to create tables in Publisher 2013 you can start learning more about how to customize them. We discuss this more in depth in the next section.
More Information on Working with Microsoft Publisher Tables
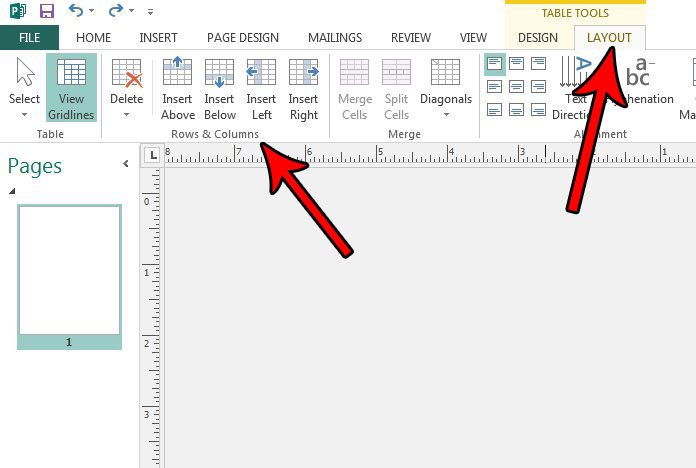
You are able to move the table around in the document by clicking on it and dragging it. You can also expand the height or width of the table by positioning your mouse over one of the borders, then clicking and expanding that border. Additionally you can add another row or column by clicking the Layout tab under Table Tools, then clicking the appropriate row or column inserting button in the Rows & Columns section of the ribbon. Do you need your document to be in a different orientation? Find out how to switch between portrait and landscape orientation in Publisher 2013 if you find that the current setting doesn’t meet your needs for the document.
Additional Sources
After receiving his Bachelor’s and Master’s degrees in Computer Science he spent several years working in IT management for small businesses. However, he now works full time writing content online and creating websites. His main writing topics include iPhones, Microsoft Office, Google Apps, Android, and Photoshop, but he has also written about many other tech topics as well. Read his full bio here.
You may opt out at any time. Read our Privacy Policy