But what if you installed the wrong font, or there is a font that you keep trying to use, but there just seems to be something wrong with it? You can delete fonts from Microsoft Word 2013 by removing them through the Windows 7 font interface. This is a short process that you can complete right now with just a few short steps. Our cursive fonts in Word guide can show you how to find good script or handwriting fonts if you need one for your document.
How to Remove Fonts in Microsoft Word 2013
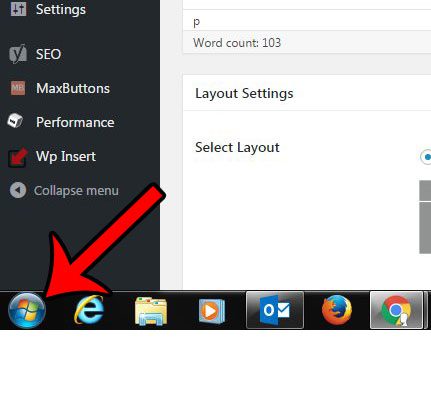
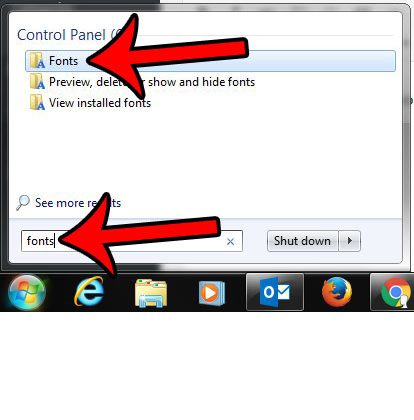
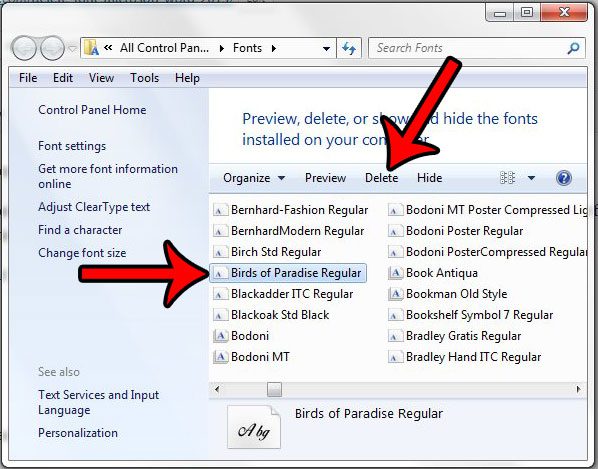
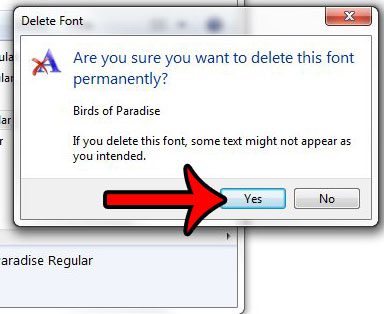
The steps below were performed on a computer using Windows 7. Deleting fonts in this manner will remove those fonts from any version of Microsoft Word installed on your computer, as well as any other program that uses the Windows font repository. Step 1: Click the Start button at the bottom-left corner of your screen. Step 2: Type “fonts” into the search field, then click the Fonts search result. Step 3: Click the font that you wish to delete from Word 2013, then click the Delete button in the blue bar above the font list. Step 4: Click the Yes button to confirm that you wish to remove this font. After you have deleted a font, Word will attempt to replace it with something similar in any existing documents in which that font has been used. Our when I type it deletes letters guide will show you how to stop Microsoft Word from replacing existing content as you type. While there are many excellent sources for free fonts online, such as dafont.com, you can also download fonts from Google Fonts. Check out our article on using Google Fonts to see how to add one of those fonts to your computer.
Additional Sources
After receiving his Bachelor’s and Master’s degrees in Computer Science he spent several years working in IT management for small businesses. However, he now works full time writing content online and creating websites. His main writing topics include iPhones, Microsoft Office, Google Apps, Android, and Photoshop, but he has also written about many other tech topics as well. Read his full bio here.


