But you may notice that there isn’t an option on that right-click menu to delete or remove a picture. There is an option to cut a picture, which can be a solution, depending upon your needs. Our guide below will show you how you can use your keyboard to remove a picture from a document in Word 2013.
Deleting a Picture in Word 2013
The steps in this article will assume that you have a picture in the body of your document that you want to delete. If the picture that you want to delete is in the background or the header, the you will need to follow these steps on how to delete a watermark from a Word 2013 document.
Here is how to delete a picture in Word 2013 –
These steps are repeated below with pictures – Step 1: Open your document in Word 2013. Step 2: Click the picture that you wish to delete. Some boxes and controls should be visible around the picture when it is selected, as in the image below.
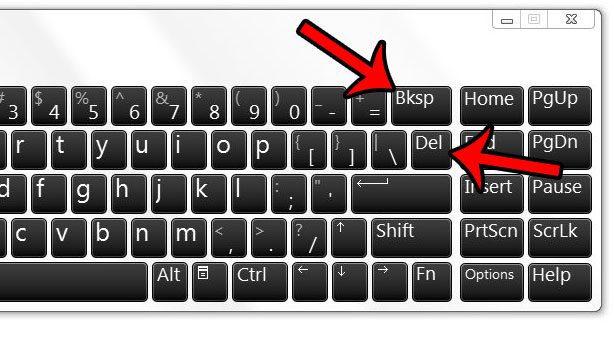
Step 3: Press the Backspace or the Delete key on your keyboard to delete the image.
Do you have a picture that you want to add as the background to a document, or a company logo that you wish to use to watermark a document? Learn about adding background images in Word 2013 to achieve the effect that you are looking for. After receiving his Bachelor’s and Master’s degrees in Computer Science he spent several years working in IT management for small businesses. However, he now works full time writing content online and creating websites. His main writing topics include iPhones, Microsoft Office, Google Apps, Android, and Photoshop, but he has also written about many other tech topics as well. Read his full bio here.
You may opt out at any time. Read our Privacy Policy