How to Delete a Recorded Video from the iPad 2
We’ve previously written about uploading photos and videos to Dropbox, which is a good solution if you don’t connect your iPad to iTunes very often. But if you have not offloaded a video that you are about to delete to a cloud storage service like Dropbox or your computer, then that video is going to be gone. So make sure that you will not need it again before you delete it. Step 1: Tap the Camera icon.
Step 2: Tap the gallery thumbnail image at the bottom-left corner of the screen.
Step 3: Touch the Camera Roll button at the top-left corner of the screen.
Step 4: Tap the Videos option at the top of the screen.
Step 5: Touch the Edit button at the top-right corner of the screen.
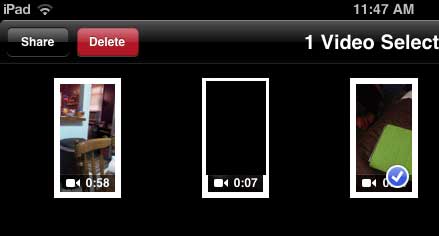
Step 6: Touch the video that you want to delete, then tap the Delete button at the top-left corner of the screen.
Step 7: Touch the Delete Video button to confirm that you want to delete the video from your iPad.
We have also written about how to delete a video from the iPhone. You can read that article here. After receiving his Bachelor’s and Master’s degrees in Computer Science he spent several years working in IT management for small businesses. However, he now works full time writing content online and creating websites. His main writing topics include iPhones, Microsoft Office, Google Apps, Android, and Photoshop, but he has also written about many other tech topics as well. Read his full bio here.
You may opt out at any time. Read our Privacy Policy
