But even if you have gone through and made adjustments to your worksheet so that the data is configured to print well, you might find that you only need to print a small subset of your cells. While you might have tried using a print area for this, that can make it difficult in the future if you forget to clear the print area. Another option is to select the cells that you want to print, then change a setting on the Print menu. Our tutorial below will show you how ot do this so that you are only printing the cells in your Exccel spreadsheet that are relevant to your current task.
How to Print a Selection in Microsoft Excel
Our guide continues below with additional information on how to print only the cells that you have selected in Microsoft Excel, including pictures of these steps. If you are editing a spreadsheet in Microsoft Excel 2013 that contains a lot of data, then there are probably times when you need to print something, but you do not need to print all of the data in the spreadsheet. One solution is to delete and hide everything that you do not need, but this can be tedious when you still need that data. So the best solution is to just print part of your worksheet. This can be accomplished with an option on the Excel 2013 print menu called “Print Selection.” Our tutorial below will show you how to use this feature so that you are only printing part of your worksheet in Excel 2013.
How to Only Print Part of an Excel 2013 Spreadsheet (Guide with Pictures)
The steps below will have you select the part of your worksheet that you want to print, then you will print the selected part. This is something that you will need to do each time you only want to print a portion of the spreadsheet, as the default settings will still print the entire sheet.
Step 1: Open the spreadsheet in Excel 2013.
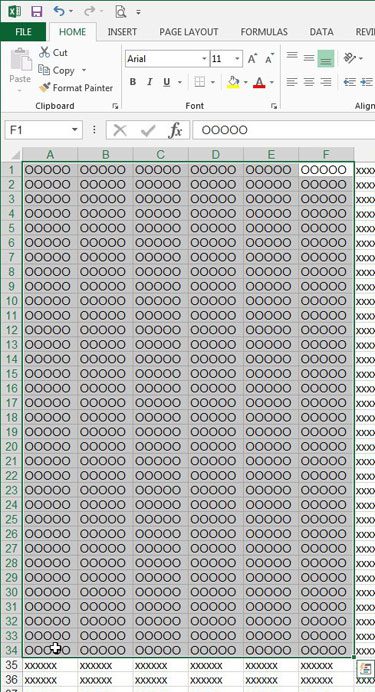
Step 2: Use your mouse to select the portion of the spreadsheet that you want to print.
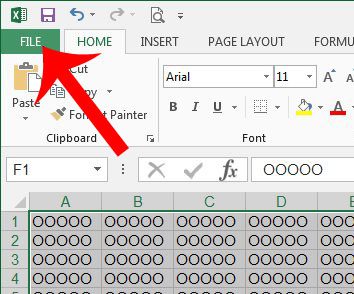
Step 3: Click the File tab at the top-left corner of the window.
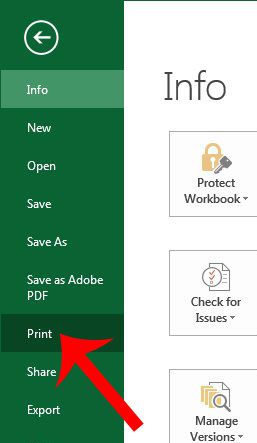
Step 4: Click Print in the column at the left side of the window.
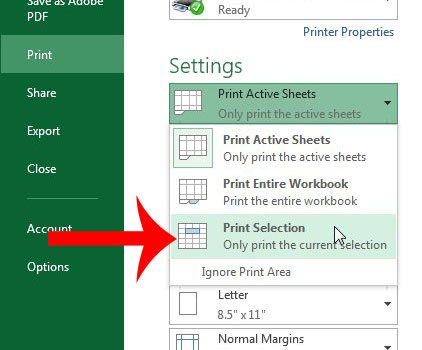
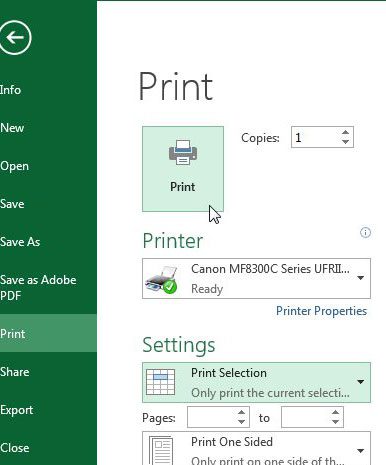
Step 5: Click the Print Active Sheets button, then click the Print Selection option.
The Print Preview at the right side of the window should then update to display the part of the sheet that you selected in Step 2.
Step 6: Click the Print button at the top of the window to print the selected part of the spreadsheet.
Now that you know how to print only your current selection in Microsoft Excel you can save yourself a lot of wasted ink and paper if you often need to print only some of the data in a worksheet. Is your spreadsheet difficult to read after it is printed out? Print the gridlines and make it easier to read.
Additional Sources
After receiving his Bachelor’s and Master’s degrees in Computer Science he spent several years working in IT management for small businesses. However, he now works full time writing content online and creating websites. His main writing topics include iPhones, Microsoft Office, Google Apps, Android, and Photoshop, but he has also written about many other tech topics as well. Read his full bio here.