It can be frustrating to cut and paste a lot of data in Excel when you need to move it around, and that becomes even more complicated when data that is already in a row needs to go to a column or vice versa. Luckily Microsoft Excel has a helpful paste option that will let you switch from a row to a column in your spreadsheet. Our tutorial below will show you how to select existing data in Excel and use the Transpose option to convert it from a row to a column.
How to Convert a Row Into a Column in Excel
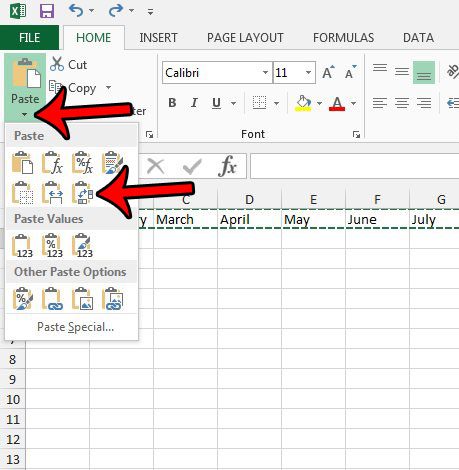
Our guide continues below with additional information on how to switch a row to a column in Excel, including pictures of these steps. Occasionally you might find that you have laid out data in a spreadsheet in a different manner than you actually need it. This can be frustrating, and the prospect of essentially redoing the exact same task again might not be appealing. Fortunately, you can convert a row into a column in Excel 2013 by taking advantage of a feature called Transpose. Transposing data in an Excel spreadsheet allows you to copy a series of data that is currently in a row, then paste that same data into a column instead. This can be immensely helpful when a spreadsheet has been laid out incorrectly, and it can help to minimize potential mistakes that can occur when you need to re-enter large sequences of information.
Transposing a Row to a Column in Excel 2013 (Guide with Pictures)
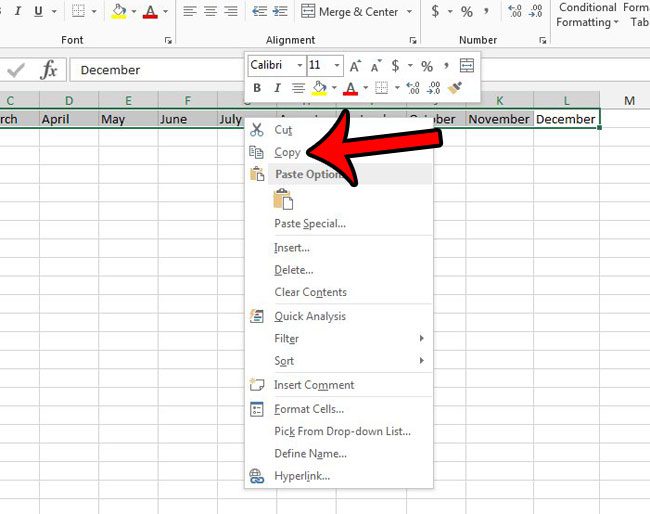
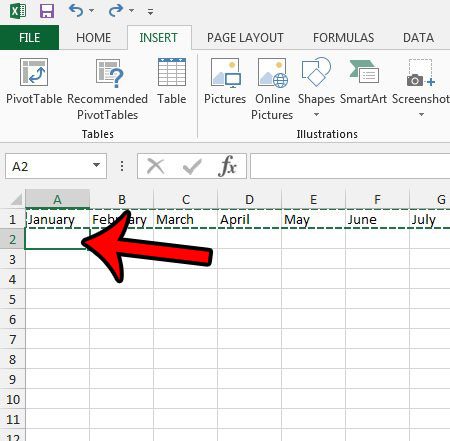
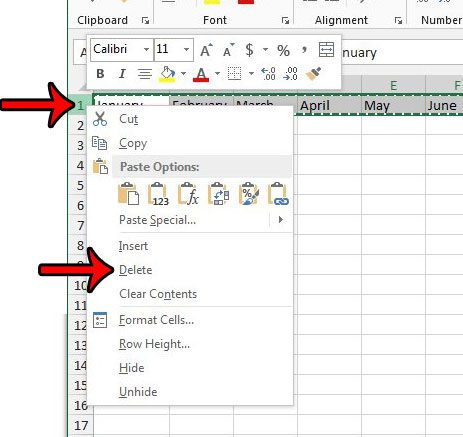
In the tutorial below we will be converting data from a row to a column. Note that the new location of the data cannot overlap the original location of the data. If this presents a problem, then you can always use the first cell under your target destination row, then delete the original row. Click here to learn how to delete a row in Excel 2013. You can now delete the original row by right-clicking the row number at the left side of the spreadsheet, then clicking the Delete option. Note that you can also copy data by pressing Ctrl + C on your keyboard. Now that you know how to switch a row to a column in Excel you will be able to move your data around a little more easily when you have cells that are in the incorrect type of cell range. Is there a worksheet in an Excel file that you would like to use in a different Excel file? Learn about copying entire worksheets in Excel 2013 and make it easier to reuse your most helpful spreadsheets. If you right-click on the row number below where you wish to add the new row you can select the Insert option to place a new blank row above that row. You can right-click on the column letter to the right of where you wish to add the new column, then choose the Insert option from that menu. If you right-click on a row number or a column letter, it will select that entire range and open a contextual menu with some options. One of those options is “Delete” which you can select the delete the whole column or row from your worksheet. Rather than creating an entirely new Excel workbook file, you can click the plus button to the right of your worksheet tabs at the bottom of the window. This will create a new, blank worksheet tab where you can paste copied data from other worksheets in your workbook.
Additional Sources
After receiving his Bachelor’s and Master’s degrees in Computer Science he spent several years working in IT management for small businesses. However, he now works full time writing content online and creating websites. His main writing topics include iPhones, Microsoft Office, Google Apps, Android, and Photoshop, but he has also written about many other tech topics as well. Read his full bio here.